Creative Pumpkin decorating ideas
The best way to celebrate the season is with a cheerful pumpkin! We’ve gathered our favorite pumpkin decorating ideas from all around the web, and we’ll be sharing them here so you can learn new ways to make your pumpkins look their best.
There are many ways to decorate pumpkins. You can use paint, glitter, glue, and more. You can also carve out designs on your pumpkin with permanent markers or stickers. If you want to make your pumpkin look spooky this year then try using temporary tattoos that glow in the dark!
You can use these ideas as inspiration, or you can try out new ones yourself. Use your imagination to come up with some creative pumpkin decorating ideas that will make you smile!
Use the right tools and materials. Some people like to use a pumpkin carving kit when they are unsure of what to do, but this is not always necessary. If you don’t want to spend money on something unnecessary (and it’s likely there will be other things on your list), then just go ahead and pick up some markers at the store instead—they’ll work just fine too!
Pumpkin decorating ideas
1. Paint an ombre
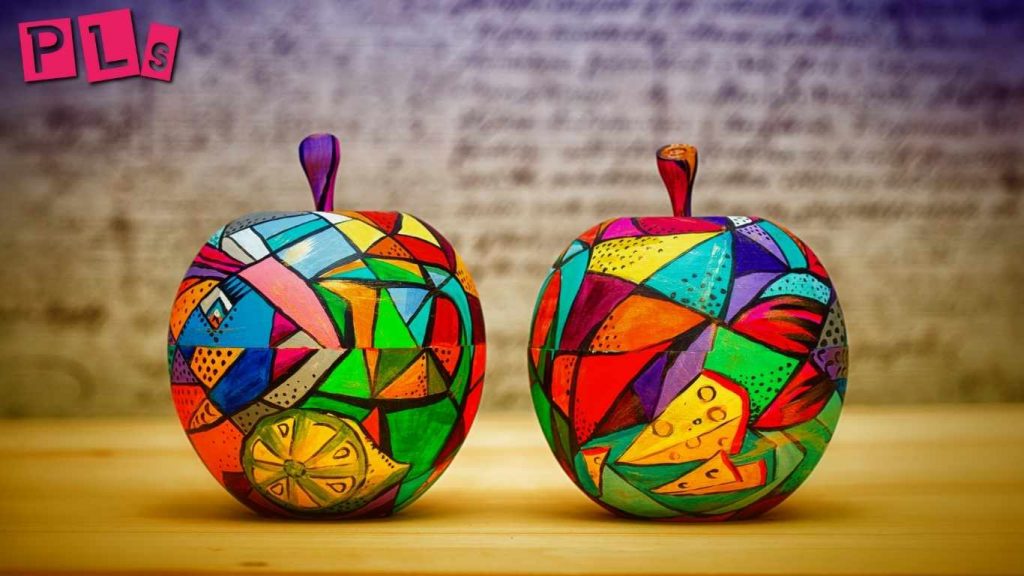
To create an ombre effect, paint your pumpkin with a gradient of colors. Start by painting the pumpkin’s top half white and then moving down to orange and finally black. Use a sponge to apply the paint evenly onto the surface of your pumpkin so that it blends together seamlessly.
2. Add a little foliage
You can use real or fake foliage to add a little bit of color and texture to your pumpkin. Real foliage will work best if you don’t want any holes in the bottom of your pumpkin, but fake is easier to find at craft stores and online. Either way, just be sure not to put too much on—you don’t want it dripping off!
To attach the leaves, first, apply glue with a glue gun (this will make life easier), then paint them onto your pumpkin using an old paintbrush that has been washed out in soap and water. Don’t worry about getting all over yourself; after all, it’s only glue!
3. Carve out an elegant design
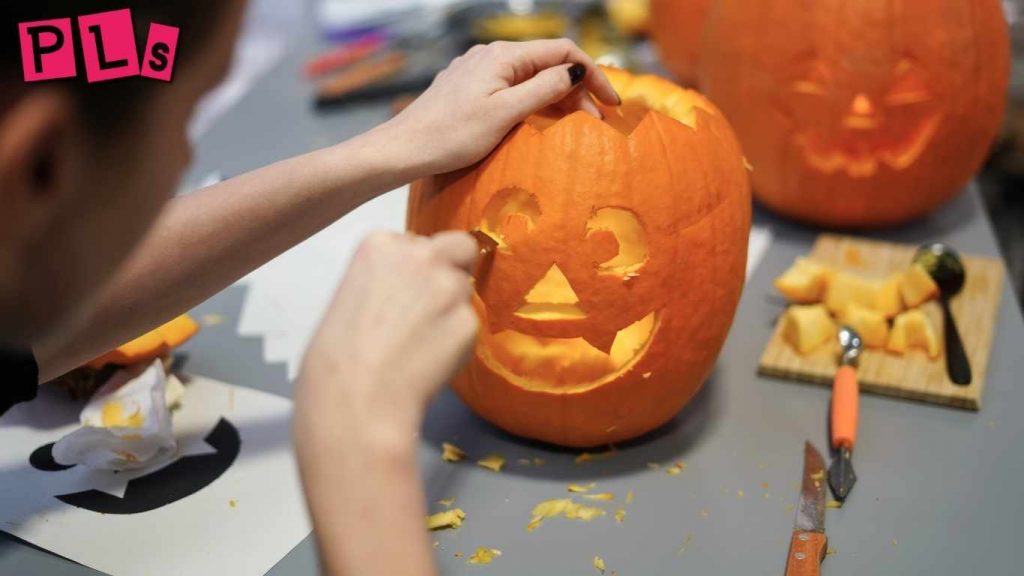
Carving a design into your pumpkin can be a fun and creative way to decorate your home. Here are some ideas for how to do it:
Use a stencil. This is the most traditional method of carving pumpkins, but it has its limitations. For example, you may not have access to all the materials needed for this process (like spray paint) or might not have time to wait until after Halloween when you’re ready!
Use an electric carving kit instead of using hand tools alone! These kits usually come with everything needed including knives, drill bits, and other items necessary during this step so there’s no need to worry about forgetting any supplies needed when making sure everything stays safe while working safely too!
4. Use temporary tattoos and paint
You can also use temporary tattoos to decorate your pumpkin.
Temporary tattoos are a great way to add some fun flair to your pumpkin, especially if you want to make it look like something special or different than the rest of the pumpkins in your neighborhood. They’re easy to apply and take off too!
If you’re planning on eating your pumpkin after Halloween is over (and who isn’t?), then why not make sure that every inch of its surface is covered with as much detail as possible? Temporary tattoos are perfect for this purpose—they can be applied directly onto the face of pumpkins without worrying about damaging them during carving time.
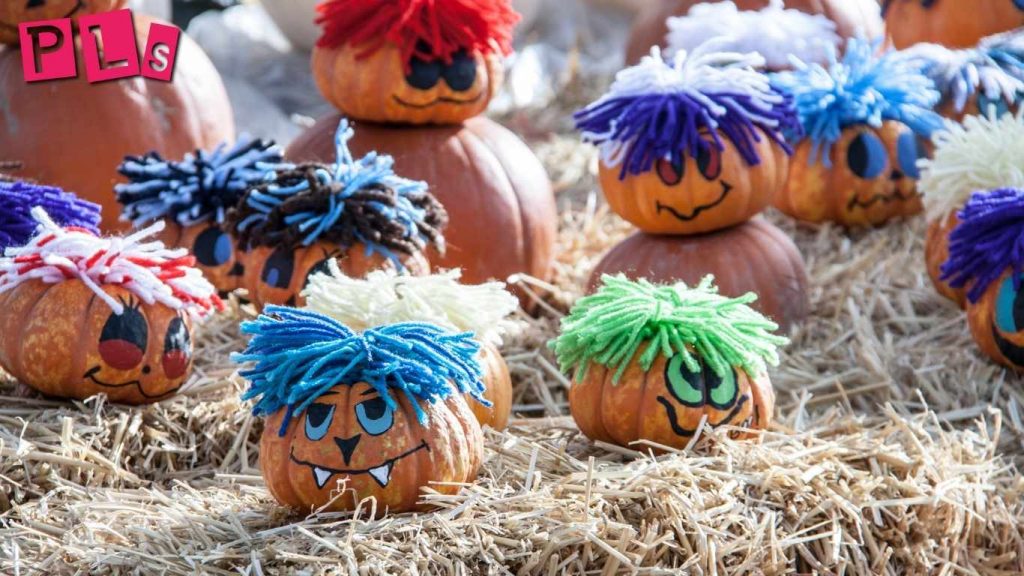
5. Give it a googly-eye makeover
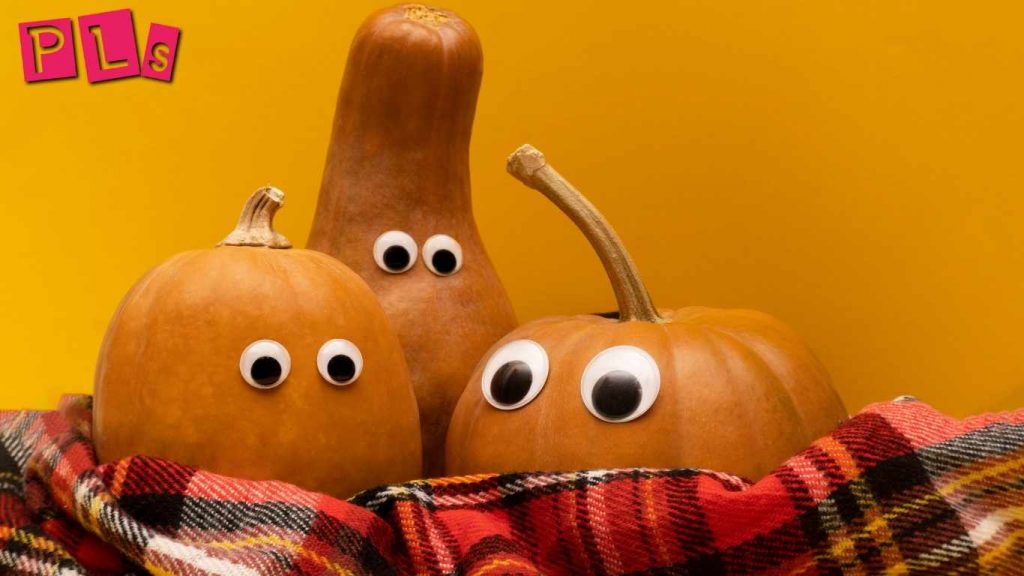
If you want to add some fun and whimsy, why not give your pumpkin a googly-eye makeover? Head to the craft store or online retailer of your choice and pick up some felt circles in various colors. You can also use paper cutouts—just make sure they have a hole in the middle so they will stay on top of the pumpkin while you’re working on them. Then, once you have all of your materials collected, it’s time to get started!
Cut out tiny circles from white tissue paper (or any other color), dip them into glue by squirting some on one side only, then press them onto the center of each eye with an iron until secure. It’s best not to add too much pressure when pressing these down because if there isn’t enough glue holding everything together then they’ll fall off later (which would be disappointing).
6. Create a spiderweb pumpkin
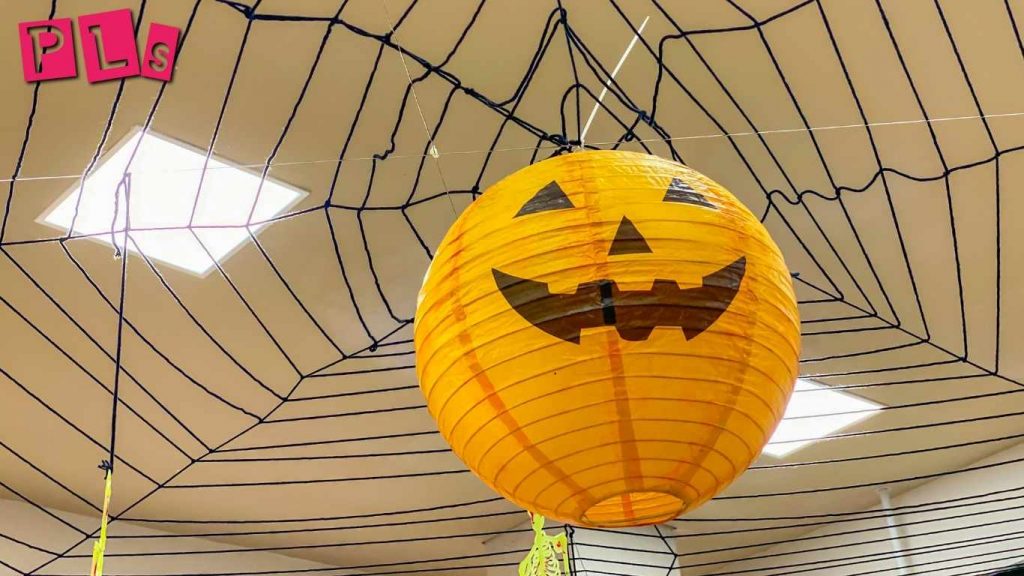
Use a black marker to draw a web on your pumpkin.
Next, use a white marker to add the spider silhouette template. You can find the template on our website or in the Pumpkin Art section of Amazon if you don’t have time to make one yourself!
Finally, create a stencil by cutting out two pieces of paper and laying them over each other with their edges lined up so that they cover most of the area you want to be covered (this will be easier than it sounds).
Then take your plastic knife and cut through both layers at once; this will allow you access to areas where there isn’t enough room for two layers together but still allow you plenty of room between them when they’re placed over the top of each other inside an actual pumpkin (no walls!).
7. Create a glitter pumpkin

To make a glitter pumpkin, you’ll need:
A large (at least 8″ tall) pumpkin that’s been carved with eyes and nose. It should be deep enough to accommodate the glitter glue or spray you’re using.
Glue or spray paint in white and silver, with black for the pupils of your pumpkin’s eyes. You can also use blackberries for eyebrows or hatches on its chin; if you do so, be sure not to apply too much pressure when applying these elements!
8. Spray paint it gold (or silver or copper)
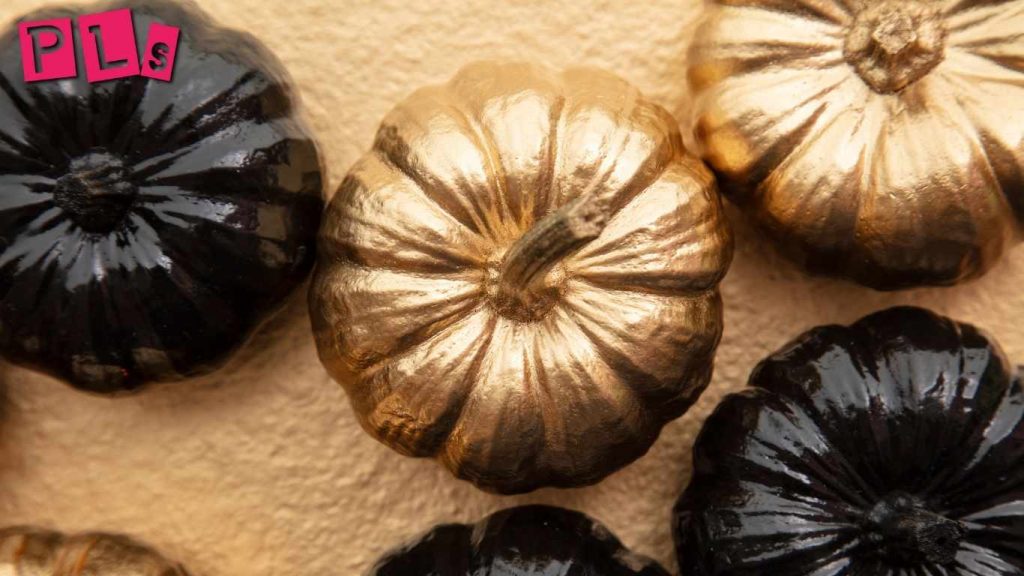
Spray painting is a great way to decorate a pumpkin in any color. You can use spray paint to create a glittery effect, or you can go for monochromatic tones that match the rest of your home.
If you want an extra-glittery look, try spraying your pumpkin with gold or silver leaf paint before adding the finishing touches of ribbon and other decorations.
9. Create a classic, monogrammed pumpkin
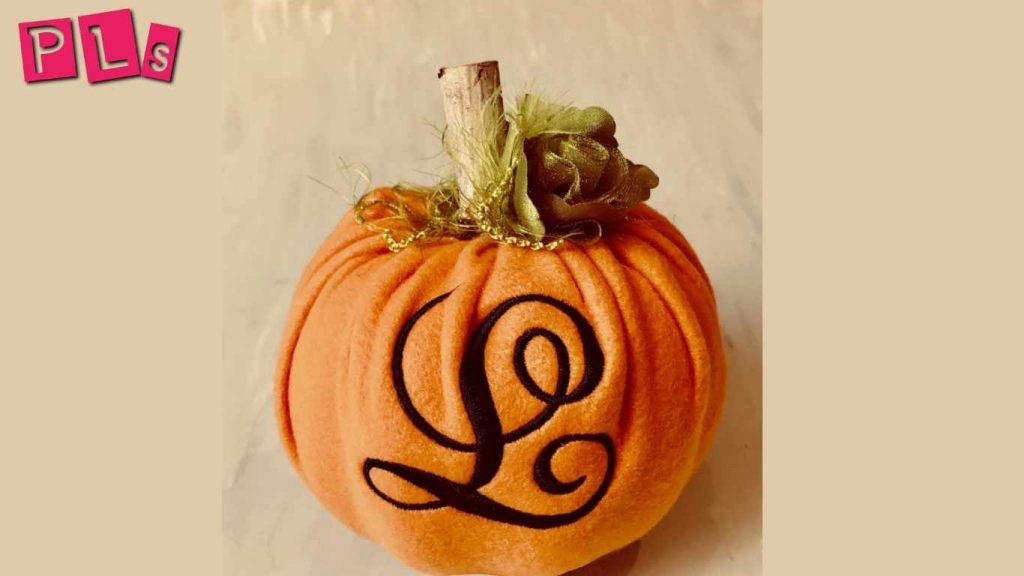
If you’re looking for a more simple approach, try using a stencil. You can buy premade ones or make your own by tracing the outline of an existing pumpkin and then painting it with acrylic craft paint.
If that doesn’t appeal to you, consider using one of these other options:
- Use a paintbrush—You could apply glue to the back of the pumpkin first and sprinkle glitter over top before adding any decorations or letters. You’ll need to do this step in order for glitter to stick properly so don’t skip this step!
- Use Sharpie markers—If you’re feeling like getting creative with your design (and who wouldn’t?), try blending different colors together on one side or both sides of each letter until they create something unique yet still recognizable as pumpkins!
10. Caramel-dipped pumpkin
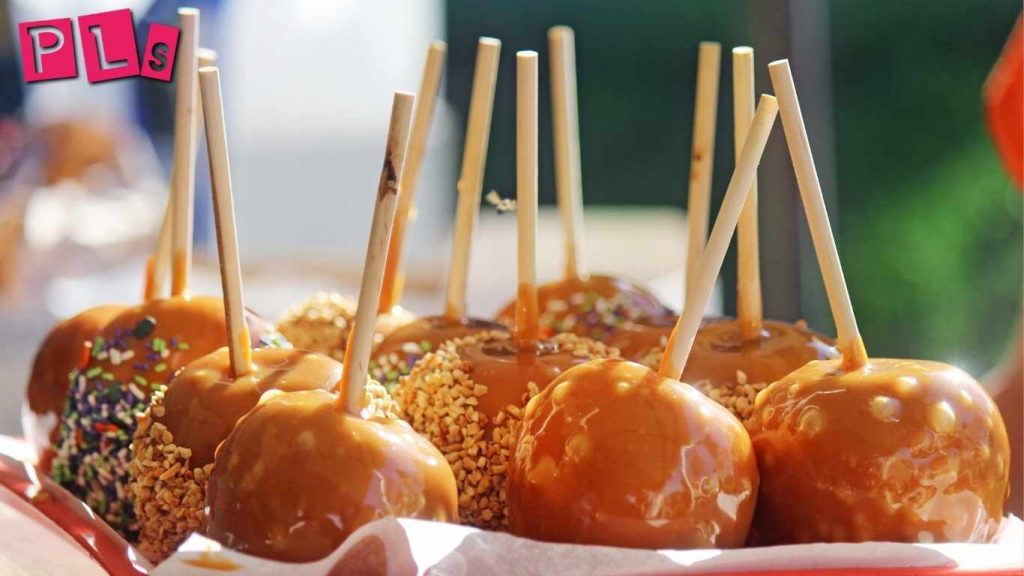
Caramel is a sweet, sticky syrup made by heating sugar. It’s used in many desserts and can be combined with other ingredients to make new desserts. Caramel apples are one of the most popular ways to use them—the syrup drizzled on top of apples makes them taste like fall!
Caramel can also be used to dip pumpkins into before decorating them (or any other fruit). This will give your pumpkin an extra boost of flavor that you might not have gotten from just using regular decorations like stickers or glitter.
11. Pumpkin wine glass
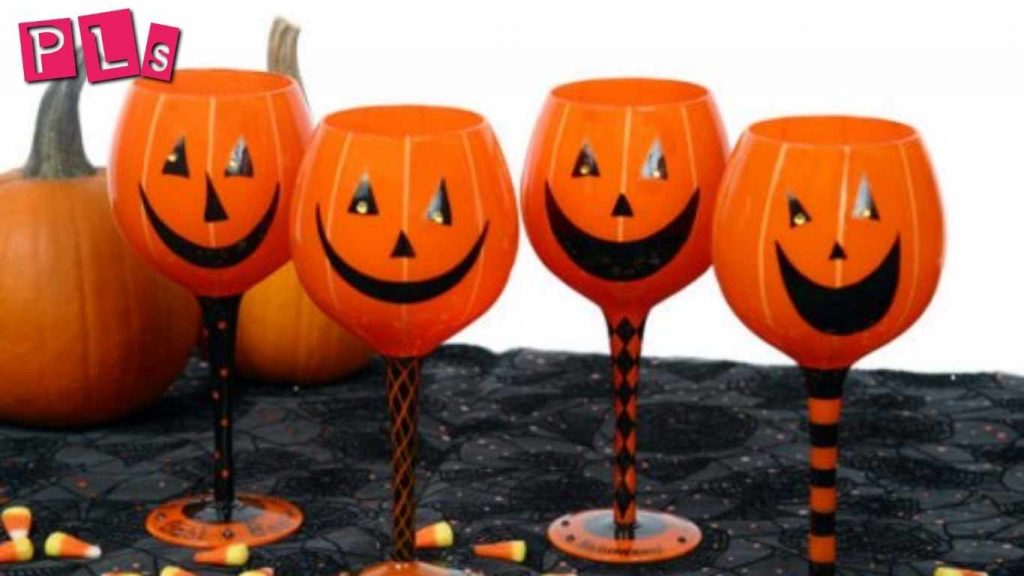
The next step is to cut out the stem. To do this, use a glass cutter or other sharp object to make an indentation in the center of your pumpkin.
Then place it upside down on a piece of paper and roll over it with another piece of paper, firmly pressing down on both sides until you’ve created a small bulge that will hold your wineglass securely in place without leaking or tipping over easily when you’re done pouring wine into it!
12. Skeleton pumpkin
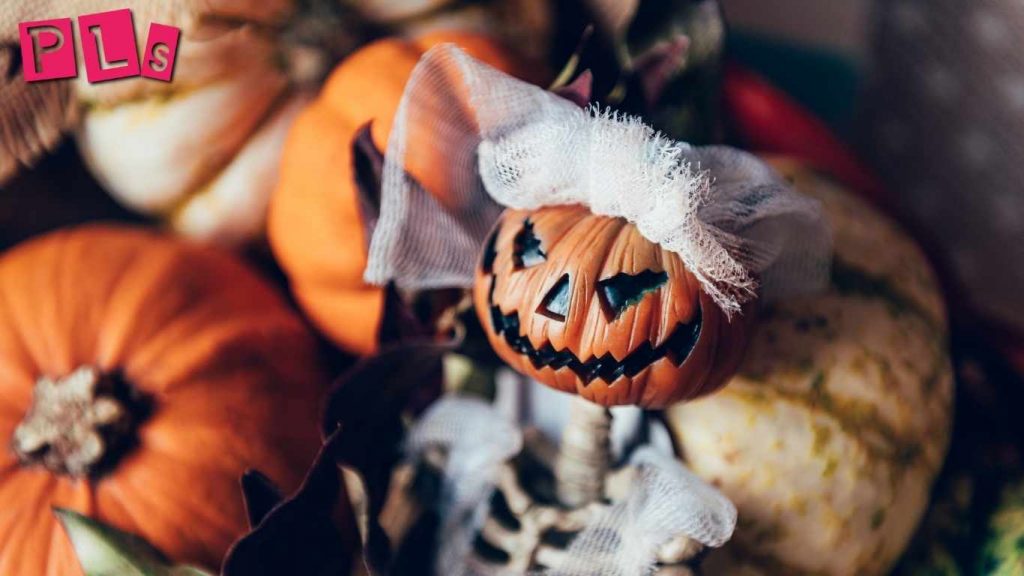
To make this easy-to-make design, you will need a skeleton template and some black paint. The first step is cutting the top half of your pumpkin in half using an Exacto knife or box cutter (the blade should be at least 2 inches wide).
Once it’s separated, use a spoon to scoop out any stringy bits inside the shell’s cavity so they don’t get mixed up with the seeds when you put them back together again.
Place both halves on their sides and use something sharp like an ice pick or bamboo skewer to pry them apart again until they’re completely separated; this way there won’t be any hard edges left over from when one piece was cut off earlier!
Next paint each half orange flesh color before adding details such as eyes/mouths/arms etcetera depending on what kind of design you want from these pumpkins
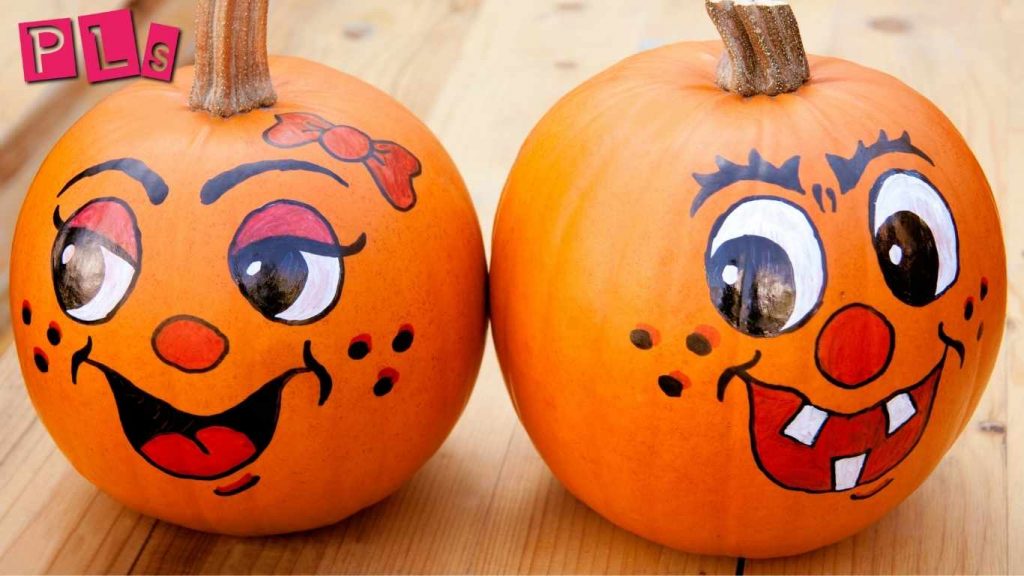
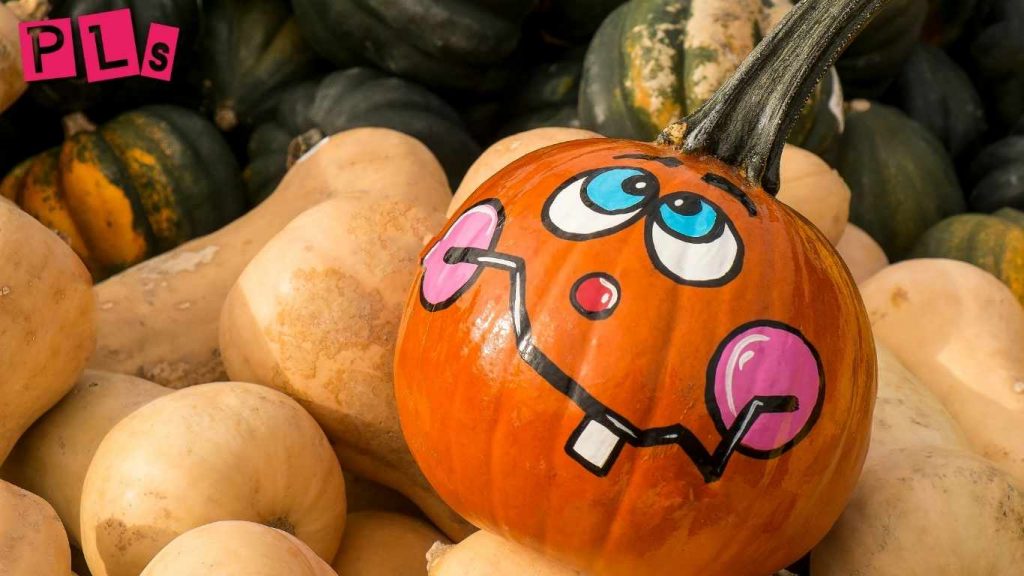
13. Emoji pumpkins

Use emoji stickers to decorate your pumpkin. You can find them at most craft stores, and they’re relatively inexpensive.
Paint is another great option for decorating pumpkins! You can use a stencil to create a pattern on your pumpkin, or even just paint directly onto it if you don’t have time to wait for the sticker’s adhesive to dry completely before removing it from its backing sheet (which will take anywhere from an hour to two days).
If this sounds like too much work for you, consider buying premade paint instead; just make sure that whatever finish choice you choose doesn’t contain toxic materials such as lead or Cadmium sulfide—these chemicals are harmful if ingested by humans over long periods of time.*
14. Sponge-painted pumpkins
You can use a sponge to paint the pumpkin in any color you like, or create a pattern on it. You can also use any combination of colors and patterns that work best for your space and decorating style!
If you’re looking for something slightly more sophisticated, consider using some sort of stenciling tool to make an intricate design on your pumpkin before painting it.
This works especially well when used with glitter paint—it adds sparkle without detracting from the overall look of the decoration!
Conclusion
All right, let’s wrap this up. We hope you found our pumpkin decorating ideas helpful and maybe even a little bit fun! As we mentioned on the first page, these are all just suggestions—you can experiment and come up with your own designs if you have time.
And remember that there are so many ways to personalize pumpkins: use them as a canvas for painting or drawing something beautiful on them, add some flowers or leaves from your garden, get creative with stenciling or decoupage techniques…the possibilities are endless!
Have fun decorating your pumpkins!
See also;
8 Easy Homecoming ideas for guys for An Impressive Look
Leave a Reply